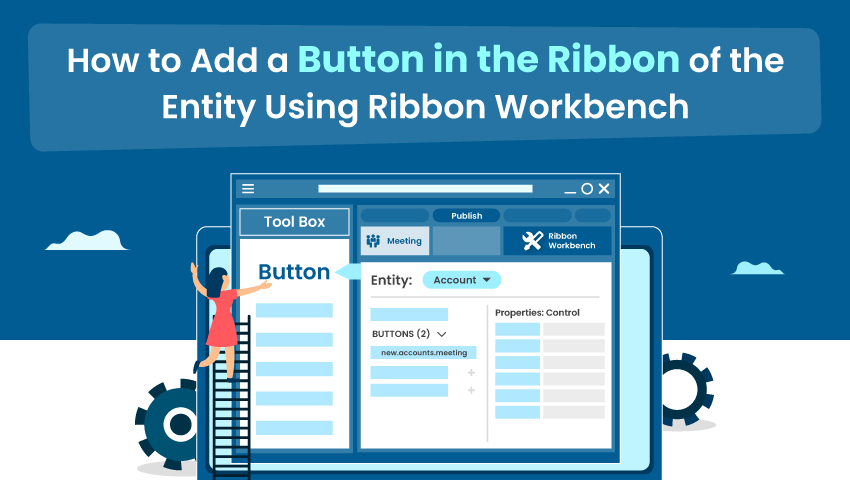
Users can add a button in the ribbon of CRM using Ribbon Workbench. This blog will show how users can add buttons to CRM’s entity using Ribbon Workbench. Here we will add a Book Meeting button in the account entity’s record.
Follow the below steps to add the button:
Step 1: Install the Ribbon Workbench solution into the CRM.

Step 2: Open the solution in the Ribbon Workbench where the account entity exists.
➢ Go to Settings > Customizations. Here, click on Ribbon Workbench.

➢ It will show all the unmanaged solutions. Here, we have a solution named Meeting, in which we have added an Account Entity. So it will open the Meeting solution in Ribbon Workbench.
➢ Select Meeting and click on the OK button.

➢ It will take time to load the Meeting solution.

Step 3: After it loads the solution, select Account from the Entity dropdown.

Step 4: Now add a Button in the Form.
➢ From the Toolbox, drag BUTTON into the form area of the account entity.

Step 5: Now set button properties:
- Id
- Label
- Image 16
- Image 32
- ModernImage

Step 6: Now click on Publish.

It will take time to publish the ribbon. After it successfully publishes the Ribbon, go to the Account and open the Account Record. You can see the Meeting button in the Ribbon. So this is how a user can add a Button in the Ribbon of any Entity.
All product and company names are trademarks™, registered® or copyright© trademarks of their respective holders. Use of them does not imply any affiliation with or endorsement by them.


